Pale subjects
White clothing or light products need visible boundaries so the model can separate them from the background.
White-background cleanup
Remove a white background from an image while preserving the main product, person, logo, or graphic as a clean cutout.
ここに画像をドロップ
またはクリックして端末から選択
Real workflow result
The white area around this backpack was removed by the same automatic background workflow. The checkerboard reveals the transparent pixels.
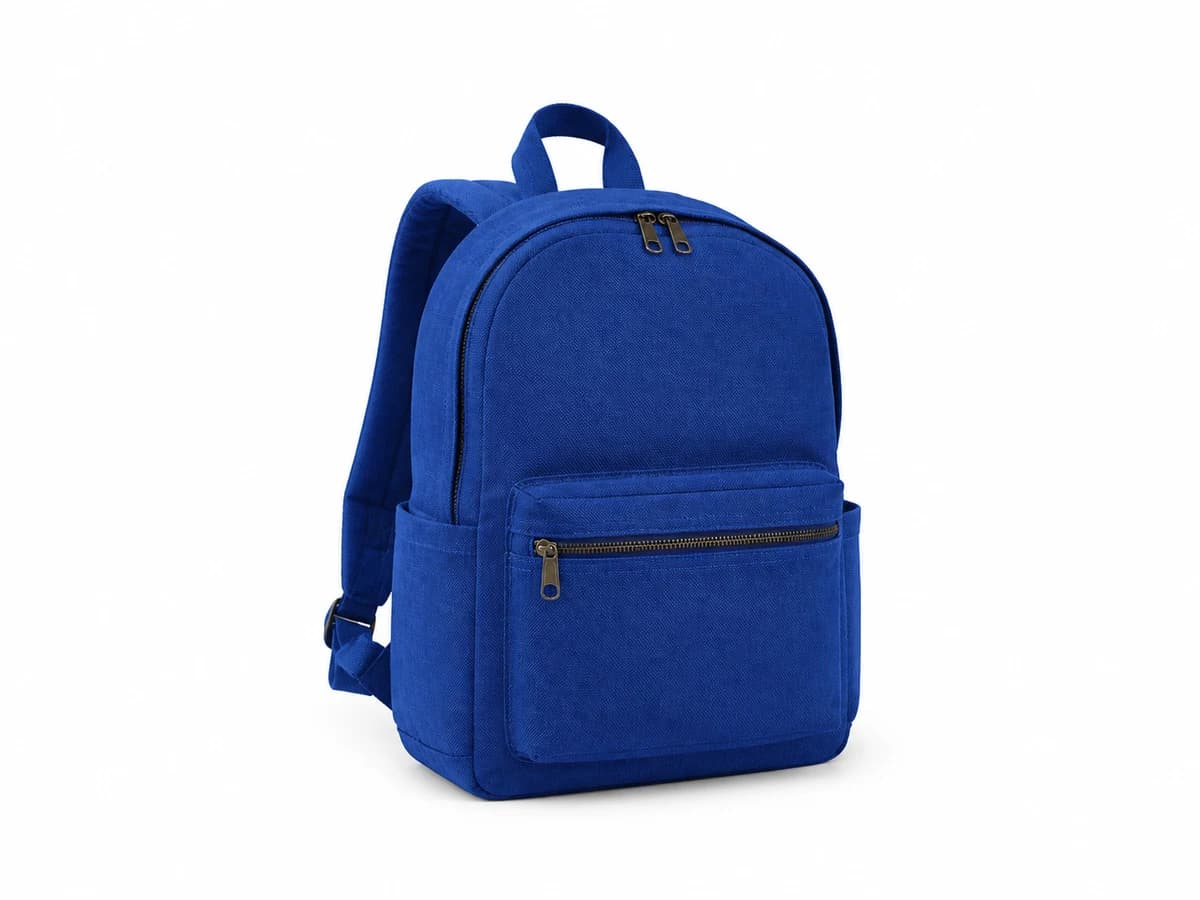
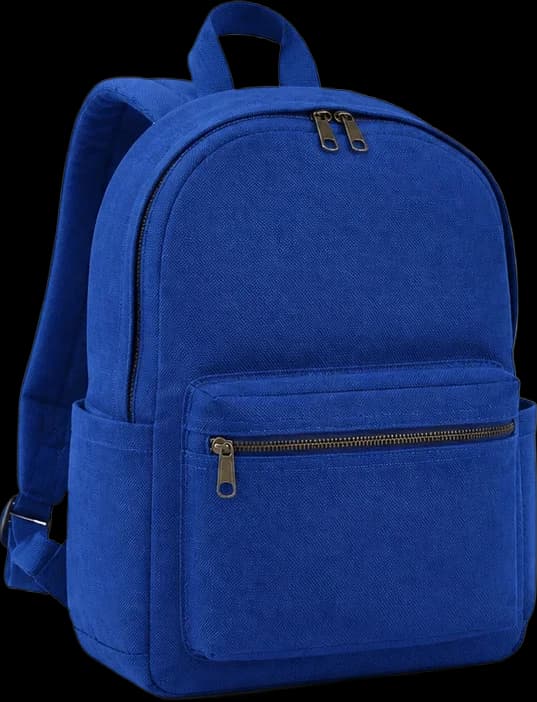
This page starts with transparent PNG output so the white area is actually removed. Switch to white output only when a clean product-photo background is the intended final result. Open the general background remover for a broader editing task.
Practical workflow
Choose a photo or graphic where the subject is visible against white or an off-white background.
Keep clean white output for a product photo, or choose transparent PNG for a reusable cutout.
Review pale objects, shadows, hair, and fine detail before downloading the result.
What to expect
White clothing or light products need visible boundaries so the model can separate them from the background.
Decide whether the result should preserve a grounding shadow or produce a completely isolated cutout.
A clean white result is ready for many listings; transparency is better for later compositing.
Clean uneven white studio backgrounds while keeping the product centered and reusable.
Remove the white page surrounding a signature, icon, drawing, or other owned visual.
Prepare subject cutouts before placing multiple items on one consistent background.
Very pale subjects, blown highlights, and white-on-white edges can blend into the background and require careful review.
Choose transparent PNG in the output options when you want the removed area to remain transparent.
Transparent PNG proves that the white area has been removed and gives you a reusable cutout. Choose white output when a clean product or catalog background is the final format you need.
It can, but clear edges, shadows, and contrast help. Inspect pale boundaries closely because they are harder to separate.